Reading a Weaving Draft: A Beginner’s Guide to Threading and Treadling Diagrams
October 29, 2026 - Weaving
Choosing a first rigid heddle loom looks like a ten-minute job. The machine is beautifully simple: a frame, a heddle, two beams, a couple of shuttles. Then you open a shop page and find widths from ten inches to nearly three feet, heddles in half a dozen sizes, folding frames, optional stands, and prices that swing widely. The decision narrows quickly once you know the order of the questions. Start with the cloth you want to make, work backwards to the loom, and the rest turns into detail.
Before you compare models, write down the three things you most want to weave over the next year. Scarves and cowls. Placemats and runners. Towels. A simple top in two seamed panels. That list sets your width, and width sets everything else.
Roughly speaking, a 10-inch loom is a scarf and sampler machine: light, quick, cheap to warp, and limited the moment you want a wide shawl. Fifteen and sixteen inches cover scarves, cowls, and narrow runners with room to spare. Twenty to twenty-four inches is the sweet spot for most beginners, wide enough for placemats, tea towels, shawls, and garment panels, still comfortable to clamp to a table. Thirty inches and up let you weave wider cloth in one piece, but they get heavy, and pulling a heddle across a full-width warp takes real physical effort.
Two practical points. First, allow for take-up and shrinkage: a 24-inch loom will not hand you a 24-inch runner, so plan on finishing an inch or two narrower. Second, be honest about your shoulders. Weaving is repetitive work, and if you already feel strain when reaching or pulling, a narrower loom with more seaming is a kinder choice than the widest one you can afford.
The heddle is the frame of slots and holes that separates your warp threads. Its number tells you how many dents, meaning slots, sit in one inch. A 10-dent heddle spaces warp threads twice as closely as a 5-dent one, and that spacing decides which yarns will work.
To choose, wrap your main yarn around a ruler for one inch, snug but not stretched, and count the wraps. Divide by two, then pick the closest heddle. Sixteen wraps per inch lands you on an 8-dent heddle. If you want weft-faced cloth, step one size more open so the weft has room to pack in. Too close a sett abrades and breaks yarn; too open and the cloth feels floppy and loose.
Most looms ship with a single 7.5 or 8-dent heddle, which is a sensible middle. If you already know you want fine linen towels or fluffy bulky scarves, ask about swapping or adding a second size with the loom rather than ordering it later. You save a shipping charge and a second wait, and you get to experiment in your first month instead of your sixth.
Almost every rigid heddle loom will weave good cloth. What separates them is how pleasant they are to use over a few hours, and how easily they grow with you.
Measure the space before you commit. A wide loom with a stand is furniture; a fifteen-inch folding loom goes into a tote bag and lives behind a door. If you plan to weave at a class, a guild meet-up, or a friend's kitchen, weight and folded size matter more than an extra four inches of weaving width.
Clamping also deserves a thought. C-clamps need an overhanging table edge, so a pedestal table or a table with a deep apron may not work. Looms with legs or floor stands solve that, but stands are frequently sold separately and can cost a meaningful fraction of the loom itself. Add one to your mental budget now rather than discovering it in month two.
Rigid heddle looms sit between simple frame looms and full floor looms on price, and the loom is not the whole spend. Plan for these alongside it:
Buying a slightly smaller loom and a fuller set of accessories is usually a better start than buying the biggest frame you can afford and warping it with nothing but the one heddle in the box.
Secondhand rigid heddle looms are common and often barely used, since many are bought with good intentions and then stored. They can be excellent value, with a few checks. Look at the heddle first: a cracked plastic frame or a broken loop makes a slot unusable, and replacement heddles can be hard to source for discontinued models. Check that the beams are straight and the metal pawls and ratchet teeth are not worn or rusted. Ask whether clamps, apron bars, shuttles, and the heddle hook come with it, because replacing small parts one at a time adds up. Finally, confirm the dent size of the included heddle so you know what yarns it will handle.
That last step matters more than any specification. A loom you understand is a loom you use, and the first sampler will teach you more about sett, tension, and your own patience than a month of reading. Start narrow, start simple, and let the wider projects wait until you know exactly what you want them to be.
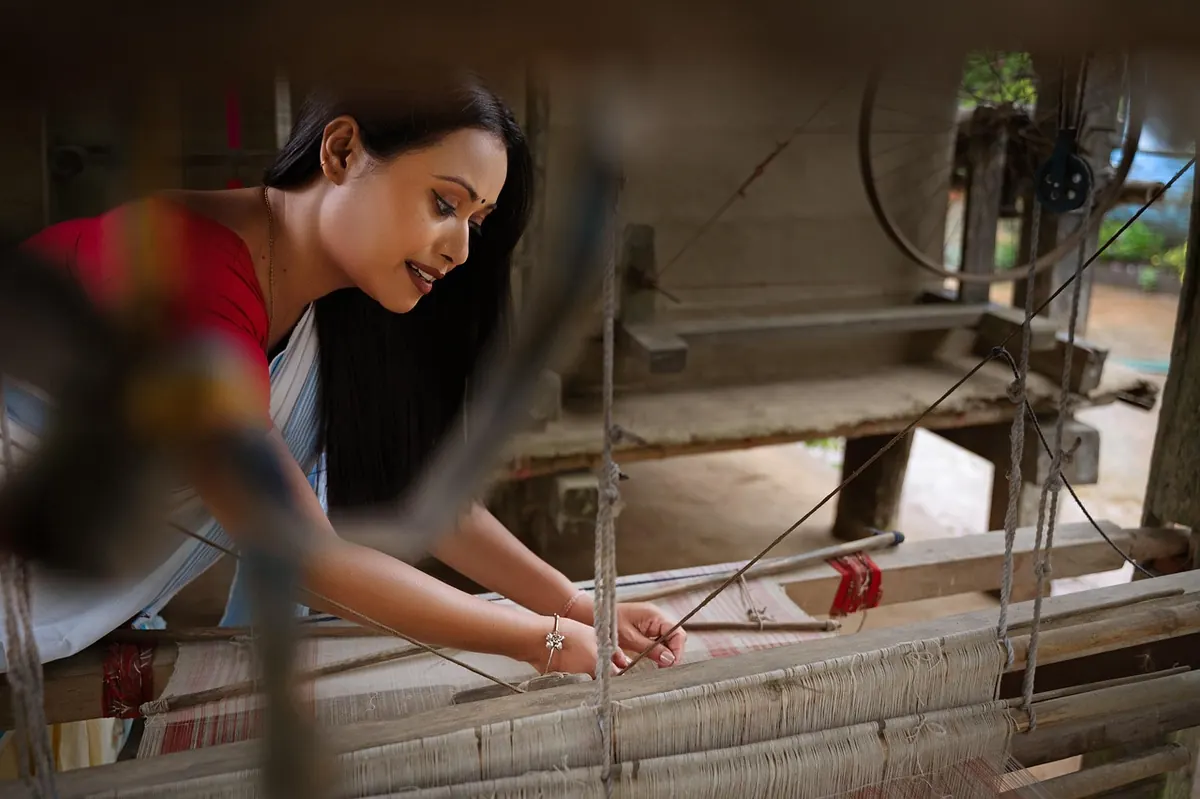
Photo: SjPhotographyAssam / Pixabay

A weaving draft is four connected diagrams, not a code. Here is how threading, tie-up, treadling and drawdown...
A practical comparison of twisted fringe, hemming and wet-finishing for handwoven scarves, judged on time,...
Copyright © 2026 Telaio Sottovoce. All Right Reserved.